Saturday, November 19, 2011

Carved Tele


Not much to add here. Just a couple of new photos. The shellac spraying method worked amazingly well. No bleeding or running of the dyes at all. A couple more coats, then I'll sand with 320 grit. Then spray a couple more coats before I move on to lacquer.

The Red Special Shellac


Above are photos of the Red Special after I used the spray method instead of French Polish. The shellac sprayed on smoothly. There was a slight bit of running around the edges. I sanded those spots. Very carefully re-applied the shellac, using a very direct method of French Polish only on a couple small spots. I then sprayed several coats of shellac.

Yes, I removed the frets from the fretboard and started all over again. I wasn't happy with the way the spraying of the shellac was turning out. I also didn't care for the way the frets were sitting. On the fretboard, I started again with  the French Polish method. Since the fretboard is maple only, I don't have to worry about the problems with bleeding and running that I had on the body.


* These photos are all taken with my iPhone. While the quality is descent, I will need to switch to a professional SLR in the future.


Shellac bleeding


Several months ago when I first tried French Polishing I ran into trouble with the alcohol in the shellac causing what I referred to as a bleeding affect. This essentially lifted the dye out of the wood and caused a swirling affect. So French Polishing ended up not being an option on the dyed bodies.

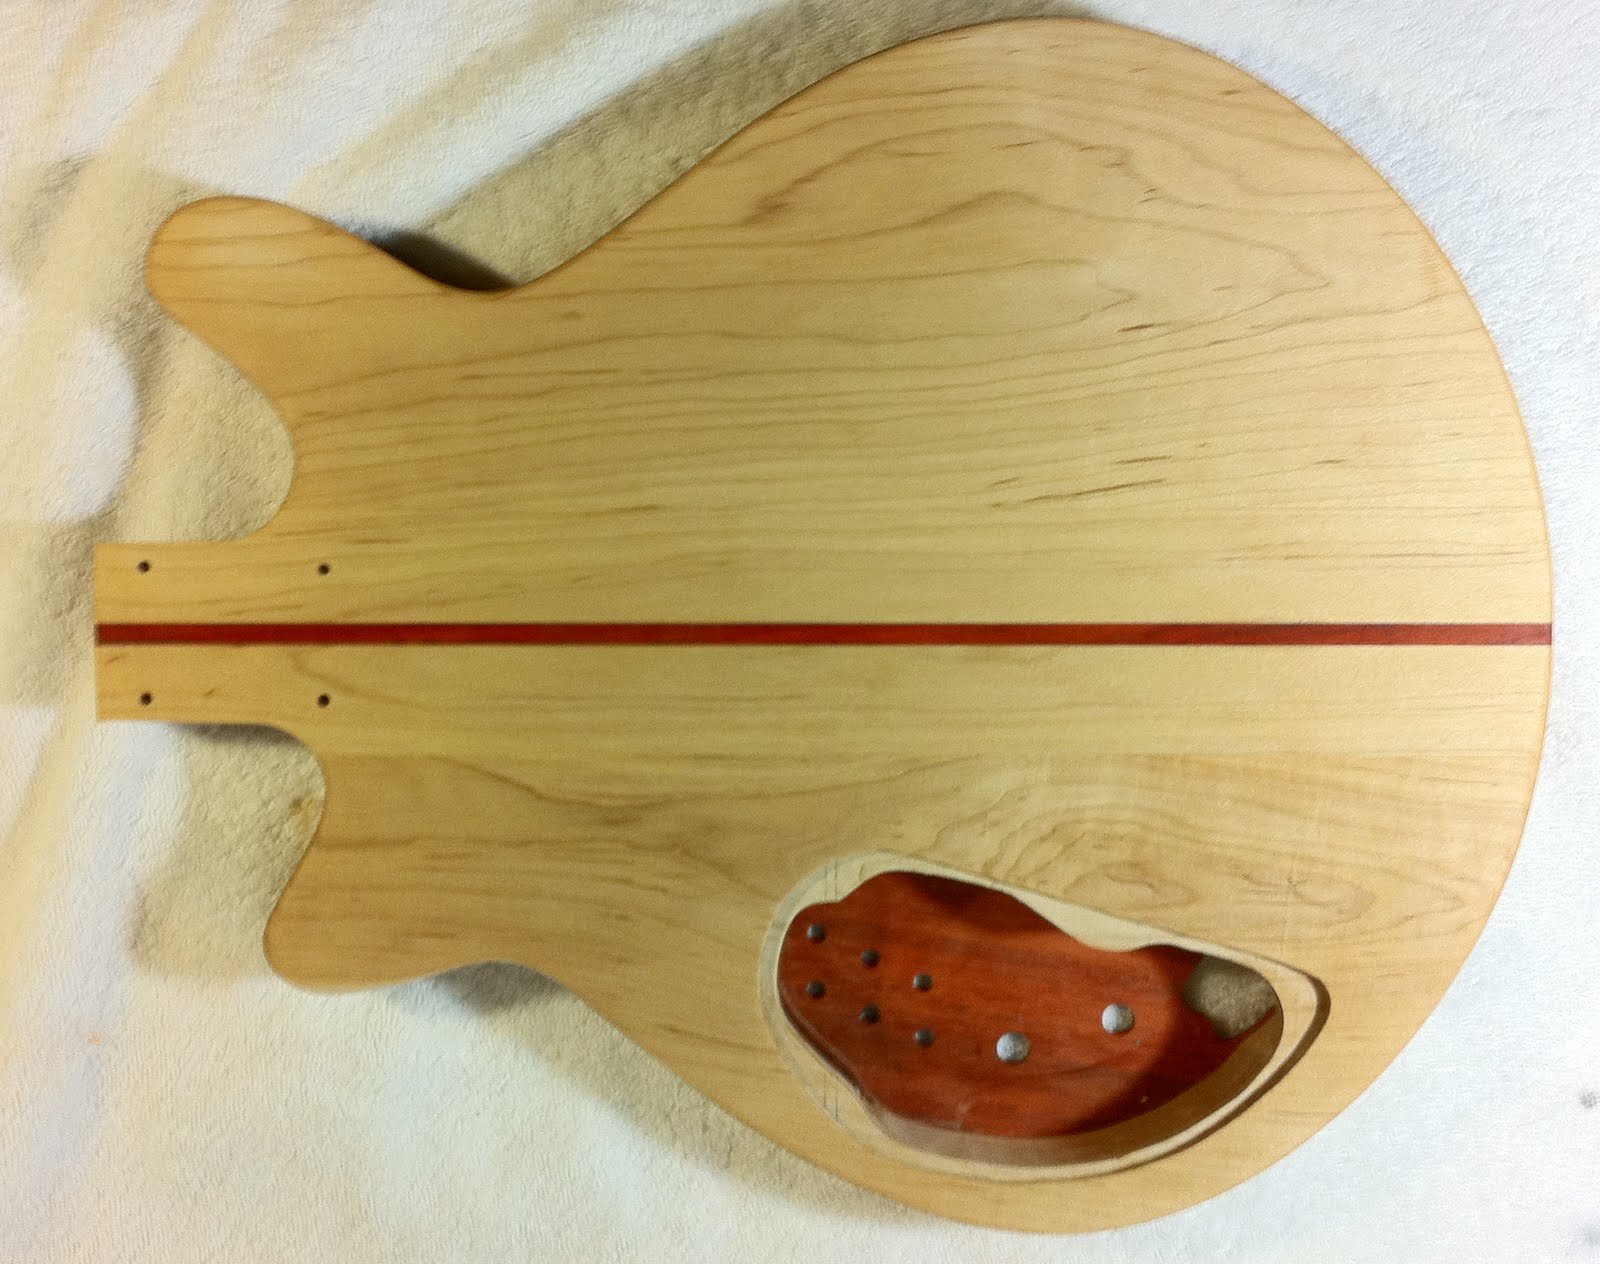
This problem also resurfaced last week when I attempted to French Polish the Red Special body. Since I wasn't using a dye on the wood, I thought the bleeding problem wouldn't pop up. But as it turns out the the alcohol in the shellac had the same effect. The red from the Padauk was lifting and running into the maple. It's faint but you can see it in the top two photos.
According to the Wikipedia entry for Padauk "Most Pterocarpus [Padauk] woods contain either water- or alcohol-soluble substances and can be used as dyes."

I switched to a spray method in an attempt to avoid this problem. This worked wonders on the Red Special and the Tele body. However, the Strat still has issues. Instead of the swirling, this time I encountered a bubbling effect. I'm pretty sure that this is being caused by the spray spitting. So, I re-sanded the top (yet again) and re-sprayed. And yet I am still seeing the same effect.

Sunday, November 6, 2011

Red Special final sanding


Today, I did the final sanding on the Red Special body. Started with 80 grit taking out any deep scratches or gouges. Broke the sharp edges to a more rounded feel. Proceed through 120 and 150 grit. Then ended with 220 grit. One of the problems with using Padauk and a light Maple or an Ash is that the saw dust will get stain the lighter wood. So extra care is necessary when sanding a body like this.

The next step will be to shellac the body. Because no actual stain was used in this build, I'll try the french polish technique.

Saturday, November 5, 2011

Reverse Strat and Tele Staining


I've stained the Strat and Tele bodies. I've opted for a red sun-burst on the Tele and a simple blue on the Reverse Strat. The sides on both bodies are stained black. On the Tele body, I worked amber dye into the center and red between the amber and the black. The next step will be to spray a couple coats of shellac.